How to Install PostgreSQL on Windows
A complete step-by-step tutorial on downloading, installing, and configuring PostgreSQL on Windows using the graphical installer.
PostgreSQL is a powerful, open-source object-relational database management system that runs on all major operating systems, including Linux, macOS, Unix, and Windows.
In this tutorial, you will learn how to download, install, and configure PostgreSQL on Windows using the official EnterpriseDB (EDB) graphical installer.
Step 1: Download the PostgreSQL Windows Installer
To download the latest Windows installer, visit the official PostgreSQL download portal: PostgreSQL Downloads for Windows or the EnterpriseDB download repository at https://www.enterprisedb.com/downloads/postgres-postgresql-downloads.
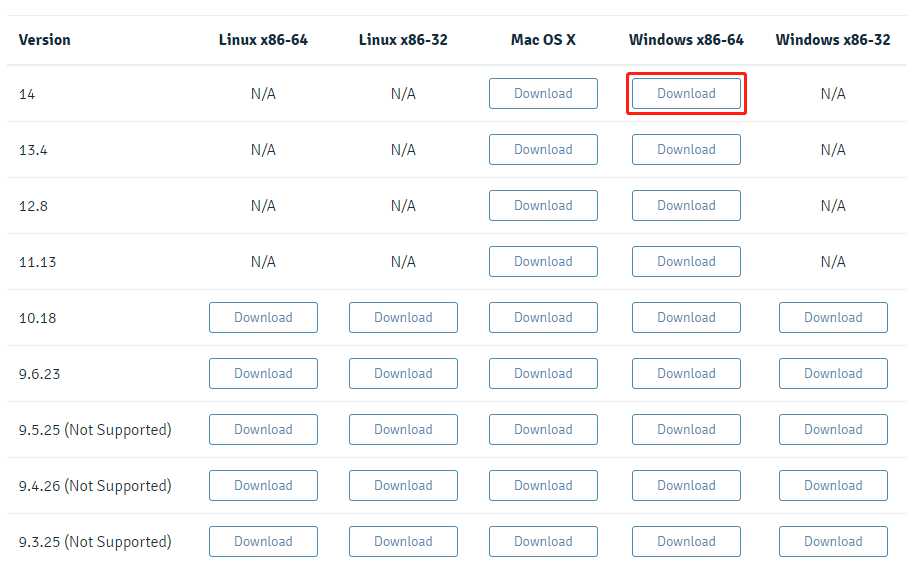
Select the Windows x86-64 interactive installer package. The download file will be named something like postgresql-16.x-windows-x64.exe (or postgresql-14.x-windows-x64.exe).
Step 2: Run the PostgreSQL Setup Wizard
Once downloaded, double-click the .exe installer file to launch the setup wizard. Follow these steps:
1. Welcome Screen
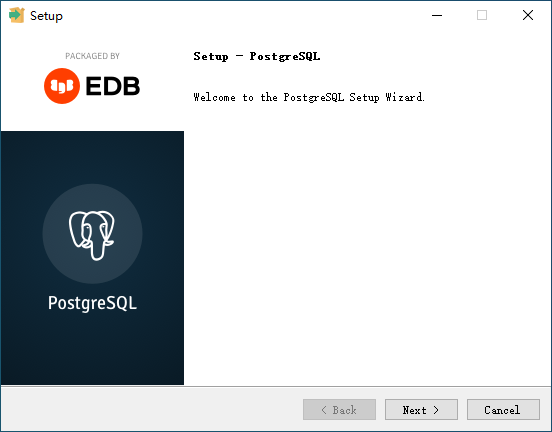
Click Next to proceed to the directory setup.
2. Choose Installation Directory
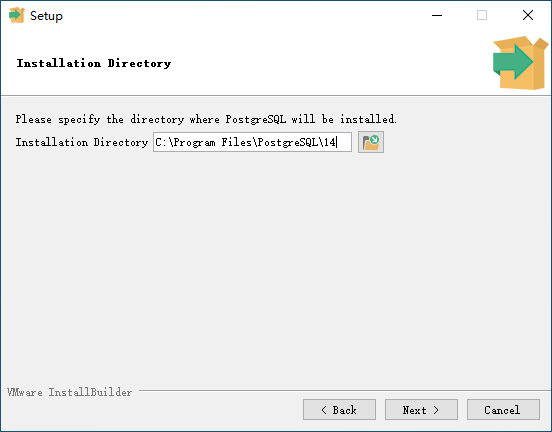
Specify the target directory for the PostgreSQL binaries (by default, C:\Program Files\PostgreSQL\<version>), then click Next.
3. Select Components to Install
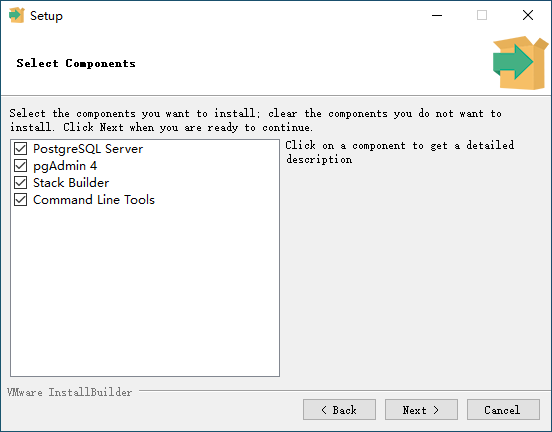
Ensure the following essential components are checked:
- PostgreSQL Server: The core database server engine (required).
- pgAdmin 4: The official GUI management console for PostgreSQL.
- Stack Builder: Utility for downloading additional language drivers and spatial extensions.
- Command Line Tools: Installs command-line utilities such as
psql,pg_dump, andcreatedb.
Click Next to continue.
4. Choose Data Directory
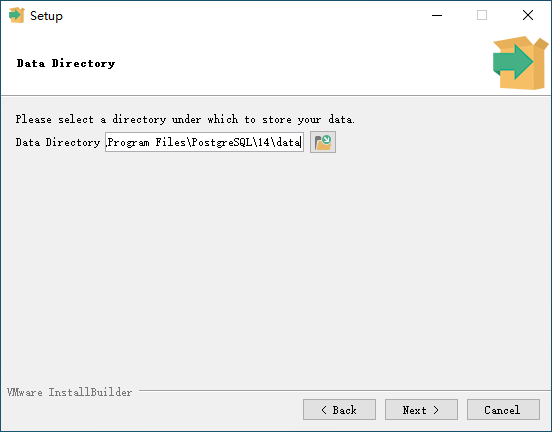
Specify the location where your database files, tables, and write-ahead logs (WAL) will be stored (e.g. C:\Program Files\PostgreSQL\<version>\data). Click Next.
5. Set Password for the postgres Superuser
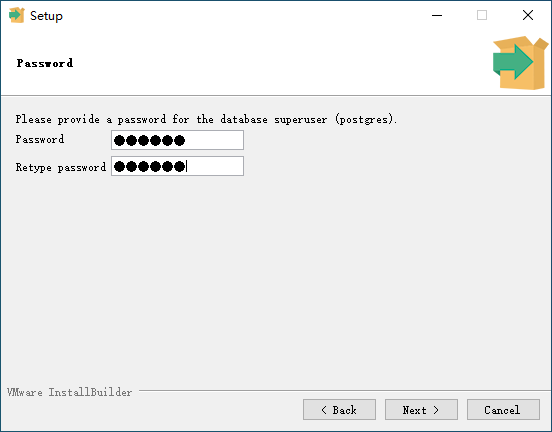
In PostgreSQL, postgres is the default administrative superuser. Enter and confirm a strong password for this account. Keep this password safe, as you will need it to connect to the database via psql and pgAdmin.
6. Select Server Port
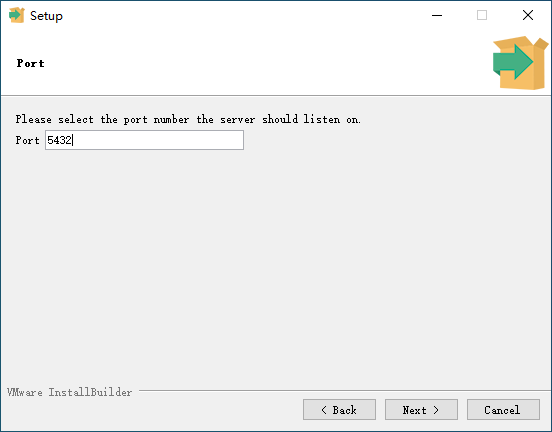
PostgreSQL listens on port 5432 by default. Unless you have another service or existing PostgreSQL instance running on this port, leave it as 5432 and click Next.
7. Advanced Locale Options
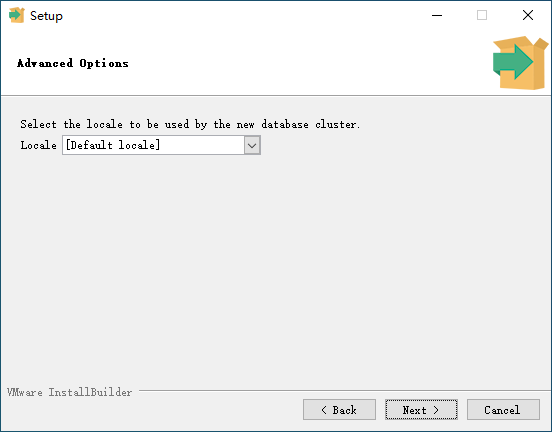
Leave the locale setting as [Default locale] or choose your preferred region, then click Next.
8. Pre-Installation Summary
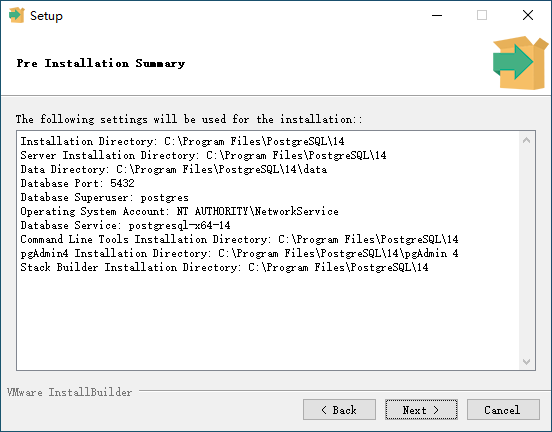
Review your selected configuration options. If you need to make changes, click Back; otherwise, click Next.
9. Ready to Install
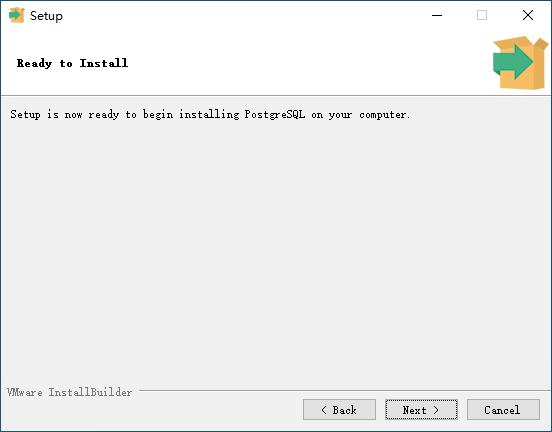
Click Next to begin copying files and setting up the PostgreSQL Windows service.
10. Installation Progress
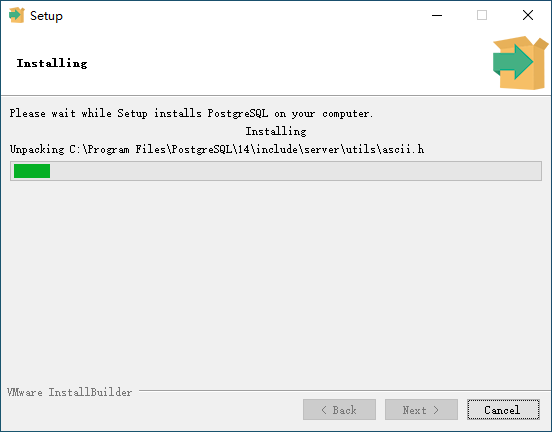
Wait a few minutes while the installer unpacks components and initializes the database cluster.
11. Complete Installation
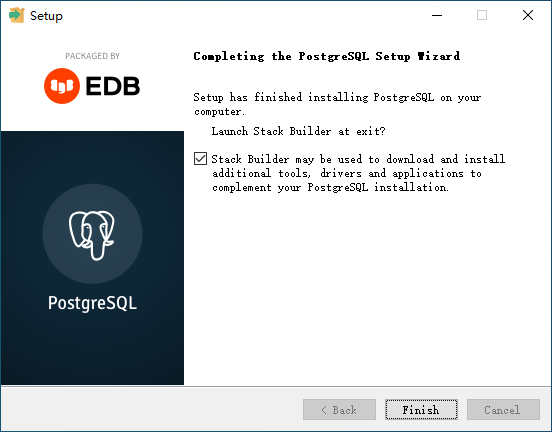
When installation completes, uncheck “Launch Stack Builder at exit” unless you need additional spatial extensions like PostGIS or ODBC drivers immediately. Click Finish.
Verifying the Installation
Open Command Prompt or PowerShell and verify that PostgreSQL is running:
psql -U postgres
Enter the password you created during step 5. You should see the interactive psql prompt:
psql (16.2)
Type "help" for help.

postgres=# SELECT version();
Next Steps
Now that PostgreSQL is installed on Windows, you can:
- Install the Sakila sample database to practice querying realistic business data.
- Explore PostgreSQL basic SELECT queries.
- Connect using pgAdmin 4 for graphical schema exploration and query development.