Install MySQL 8 on Windows
In this article, we show the detailed steps of how to download and install MySQL on the Windows platform.
Installing MySQL on the Windows platform is very simple and easy. Please Follow the steps in this article.
Download the MySQL installer
We need to use the MySQL installer to install MySQL on the Windows platform.
Please go to the Official MySQL download page to download the MySQL installer. The download page provides 2 installer files for downloading:
- Online Installation Version : During the installation process, the components selected by the user need to be downloaded online and then installed. The corresponding file is
mysql-installer-web-community-<version>.msiabout 2M in size. - Full Installation Version : Contains all components, and does not need to be connected to the Internet during the installation process. The corresponding file is
mysql-installer-community-<version>.exeabout 450M in size.
The results after the installation of the two installers are exactly the same, you can choose to download them according to your needs. Here we choose to download the Online installation version .
Install MySQL
After downloading the MySQL installer file, double-click the file to start the installation process.
-
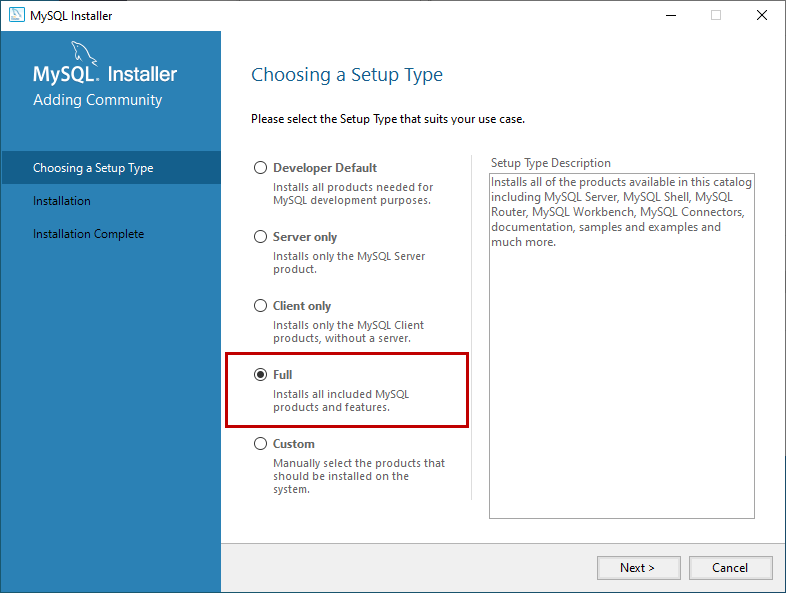
On the Select Installation Type page, you can see five installation options.
- Developer Default : The default installation option. It installs the components required for developing applications, such as MySQL server, MySQL Shell, MySQL connector, etc.
- Server Only : Only the MySQL Server is installed, without command line tools and other components.
- Client Only : Only install MySQL client tools and other components, not including MySQL Server.
- Full : Install the MySQL server and all its components
- Custom : Customize and install the components you need
We will install MySQL server and all components, select “Full” and click “Next”.
-
Check the required components
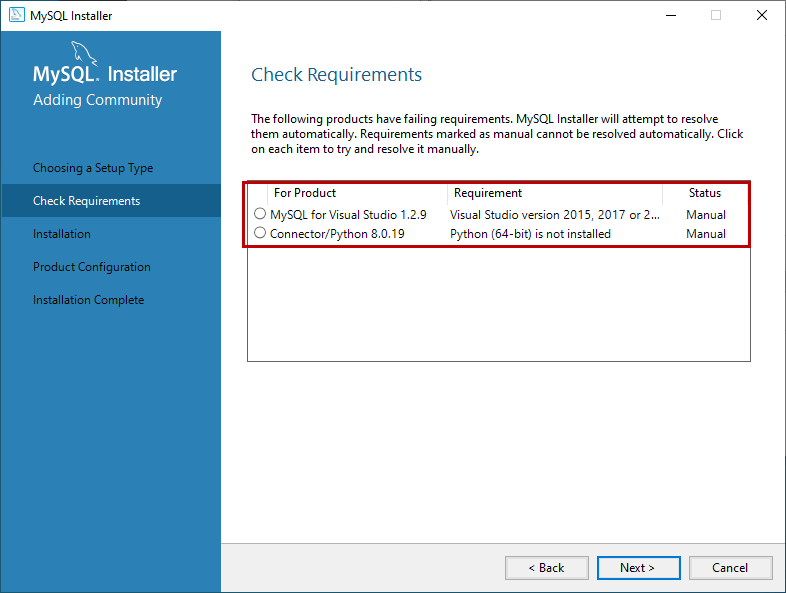
Before the installation starts, the installer checks the prerequisites required for the installation. The interface will display the product name, required components/software and their status. As you can see, to install
MySQL for visual studio, you must install visual studio 2015 or above. Similarly, to installConnector/Python 8.0.19, we must first install python.- If there is an “Execute” button on this page , first click the “Execute” button, and then click “Next”.
- If there is no “Execute” button, click “Next” directly .
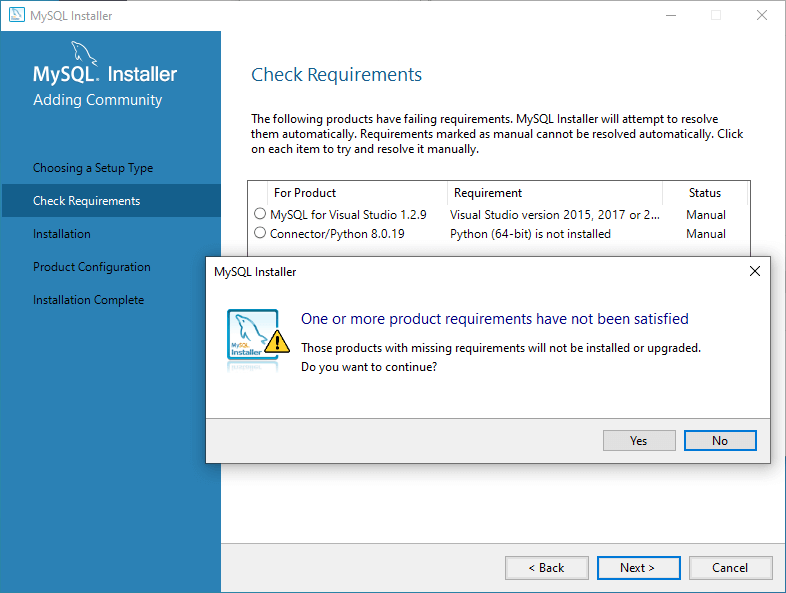
The installer warned us. Let’s continue the installation and click “Yes”.
-
Install selected product components
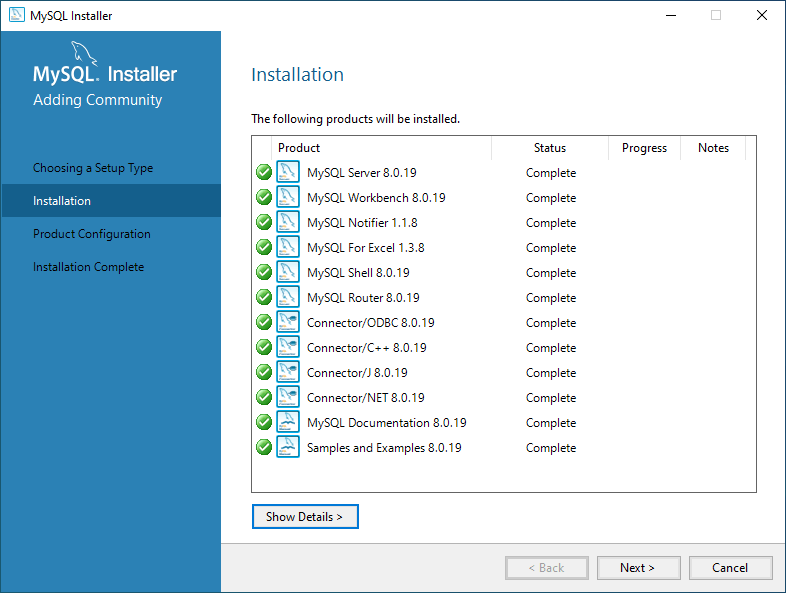
On the installation interface, you can see a list of MySQL products/software to be installed. View the list and click “Execute”.
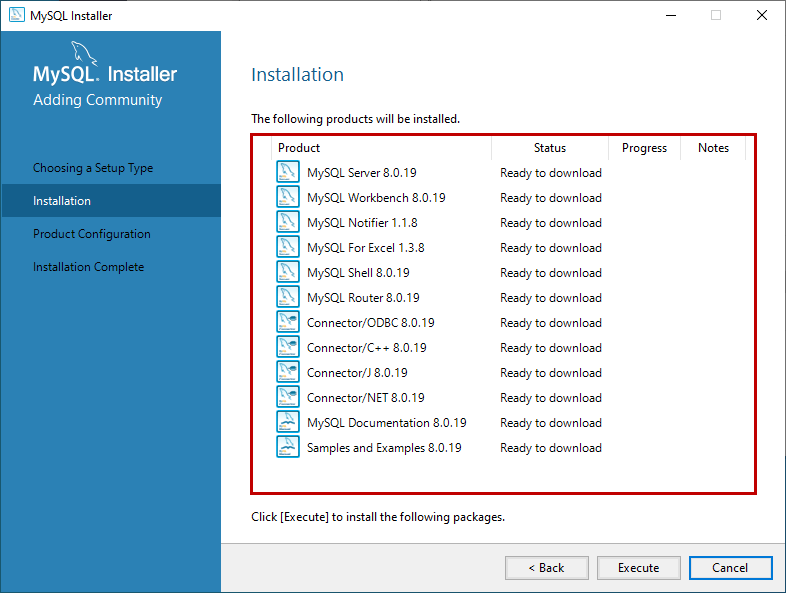
The installer will automatically download all products/software, and then it will automatically install all products.
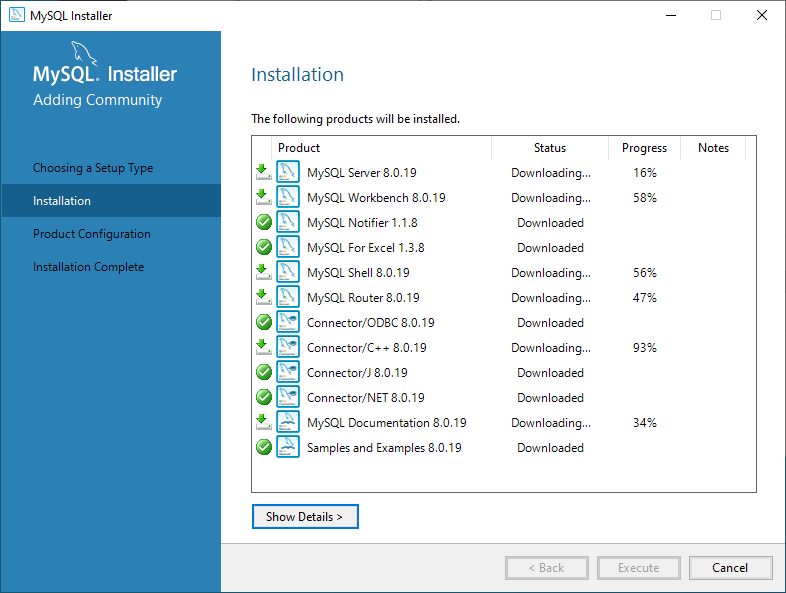
Wait a few minutes. After the installation process is complete, we can configure the MySQL database server and other components. Click “Next” to enter the configuration interface.
-
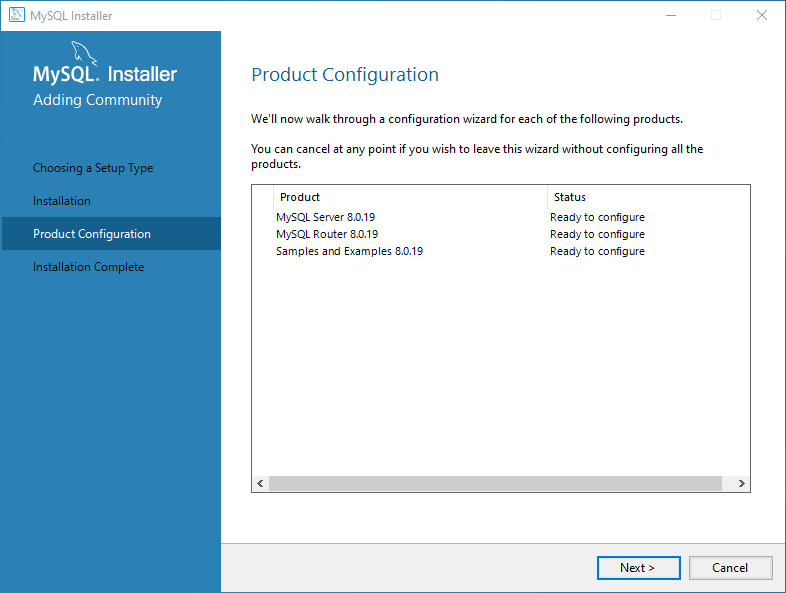
Product configuration
On the product configuration interface, you can see a list of products that need to be configured. Click “Next”.
-
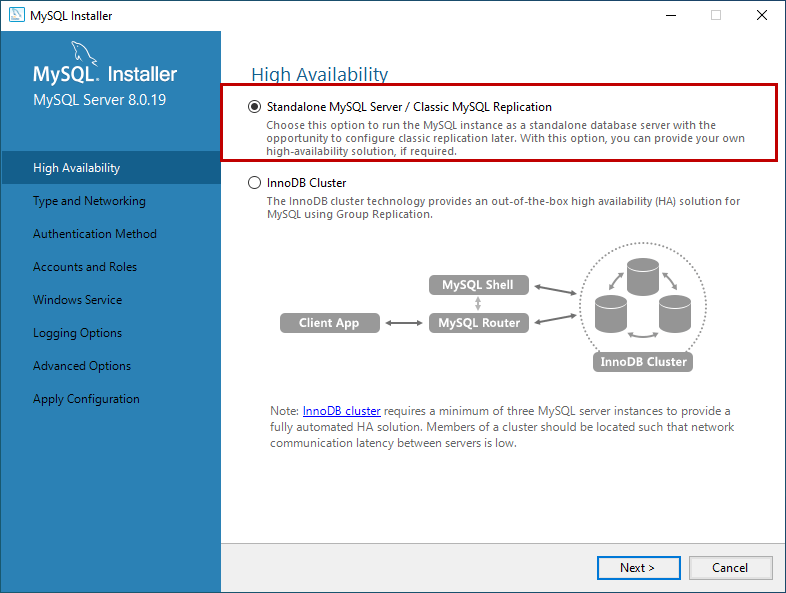
Configure high availability
On the high availability interface, we select “Standalone MySql Server / Classic MySQL Replication”. This is to choose our server as a standalone server or a classic MySQL replication server.
-
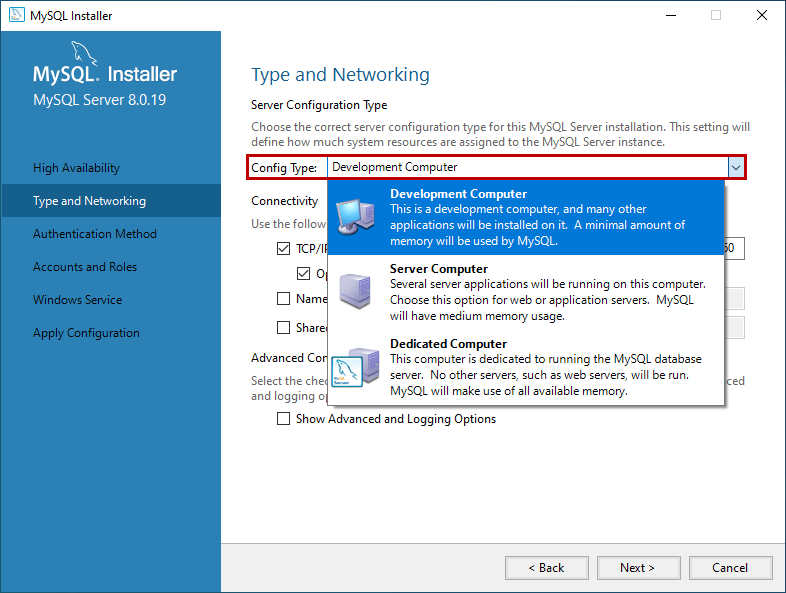
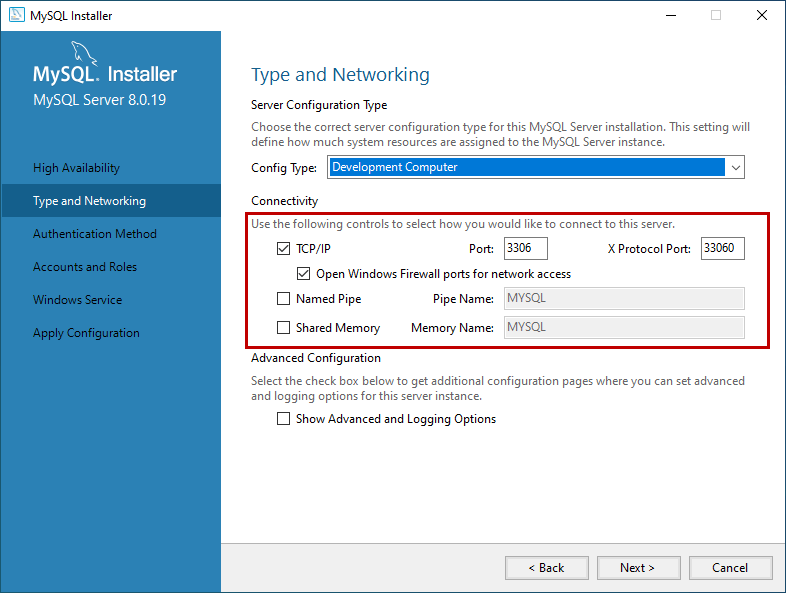
Configure server type and network
On the type and network interface, we can configure the following:
- Config Type: Configuration type
- Development Computer: taking up the least resources.
- Server Computer: which can be installed together with other server software, such as web server. Moderate resource occupation.
- Dedicated Computer: which can take up resources to the maximum.
- Connectivity: You can control how the client connects to the MySQL database
- Config Type: Configuration type
-
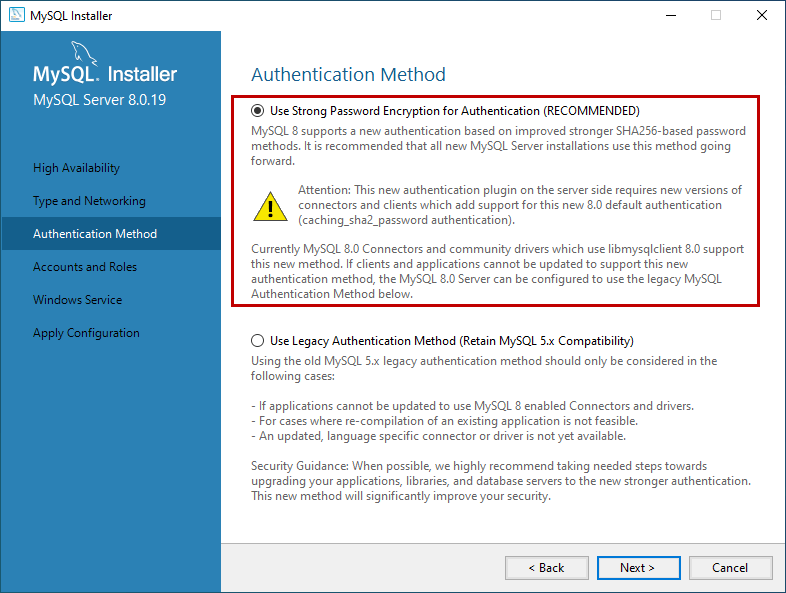
Configure authentication method
In MySQL 8.0 version, we can use strong passwords based on SHA256. On the Authentication Method interface, select the option to use traditional authentication methods or strong passwords for authentication. Note: If you use strong password encryption for authentication, make sure that all clients or connectors must be updated to the latest version. We use strong password encryption for authentication .
-
Configure Accounts and Roles
In the Accounts and Roles on the screen, you can specify the MySQL
rootaccount password. The MySQLrootaccount is the default sysadmin account. For security, it is generally disabled.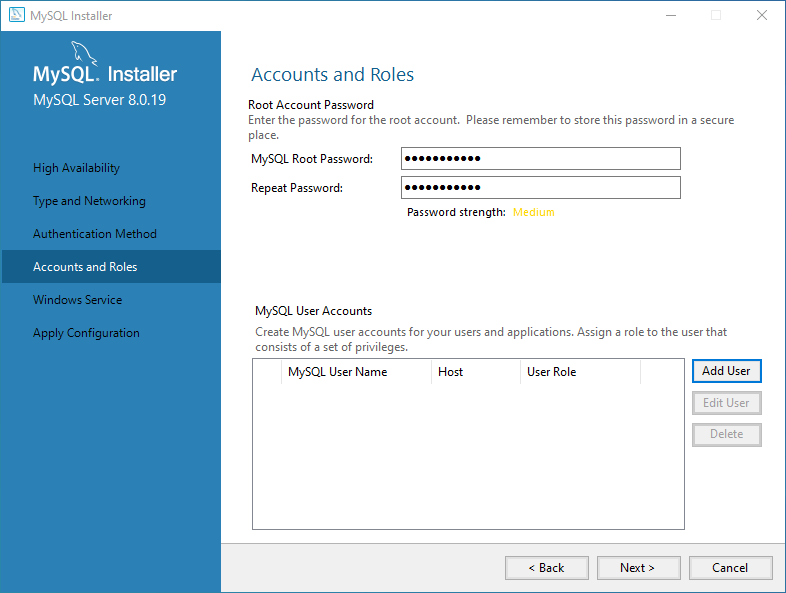
-
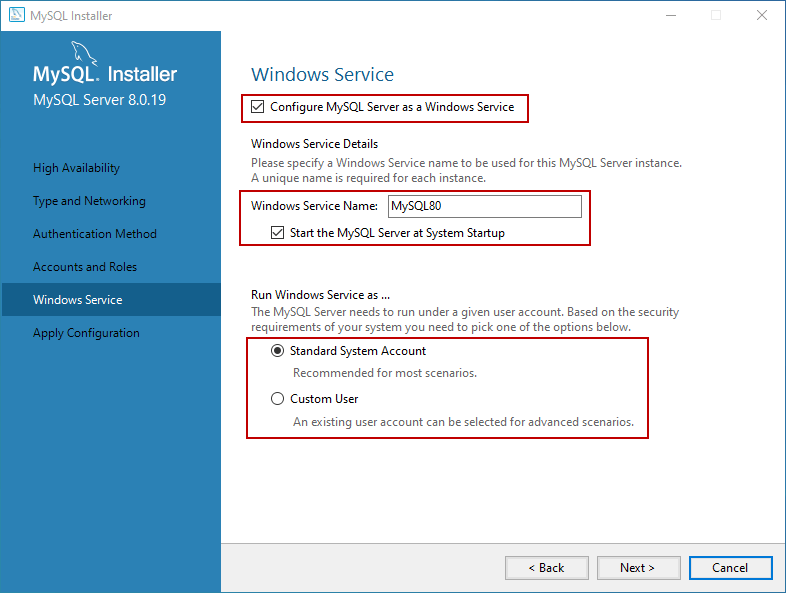
Configure Windows services
On the Windows Service interface, the MySQL server can be configured to run as a Windows service. We can customize the name of the service and how to start the service.
-
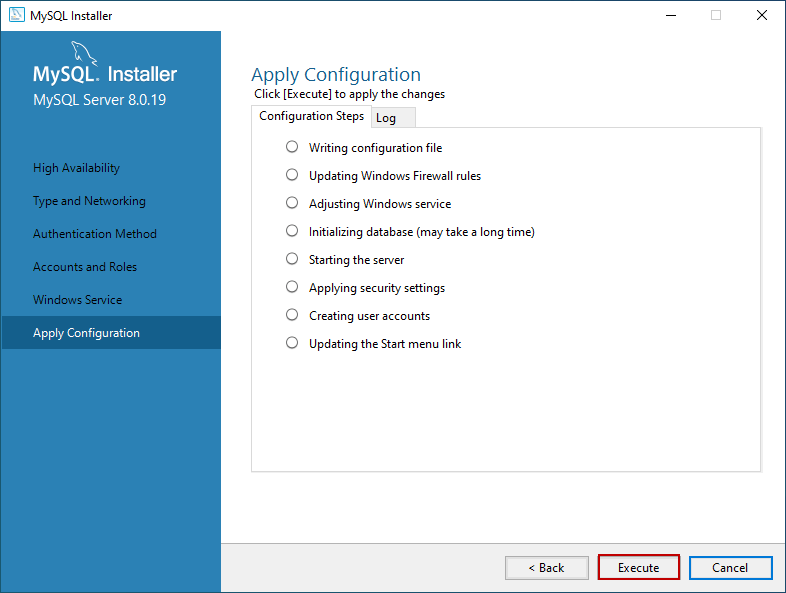
Apply Configuration
On the “Apply Configuration” interface, we can see the steps to save the configuration. After checking all configuration settings, click “Execute”.
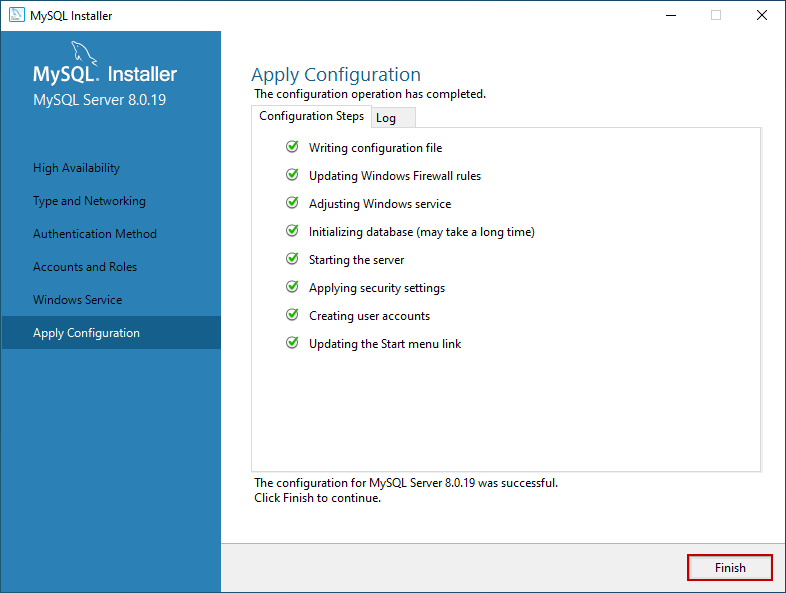
After waiting for the configuration to be saved successfully, click “Finish” to close the installer.
Install the sample database
After completing the above steps, if you choose the complete installation type at the beginning of the installation, the installation program will continue to return to the product configuration interface. Click Next and the MySQL installer will continue to install the sample database.
-
On this screen, enter your username
rootand password, then click “Check”. If the connection is established successfully, click “Next”. See below: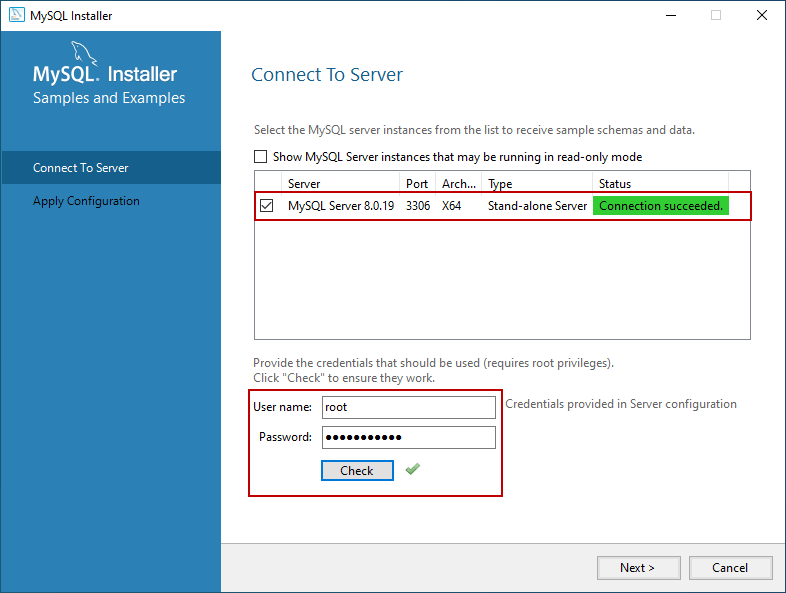
-
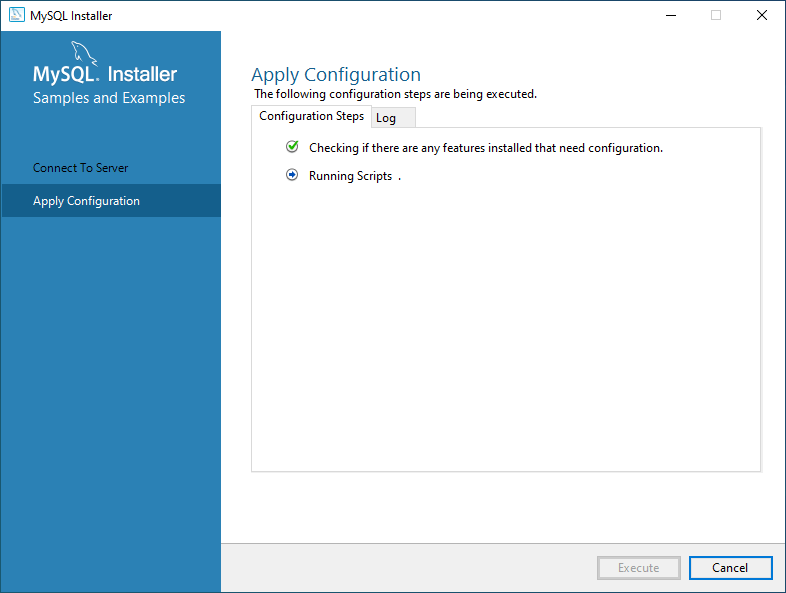
On the Apply Configuration Screen, click “Execute” to start installing the sample database. Please refer to the following:
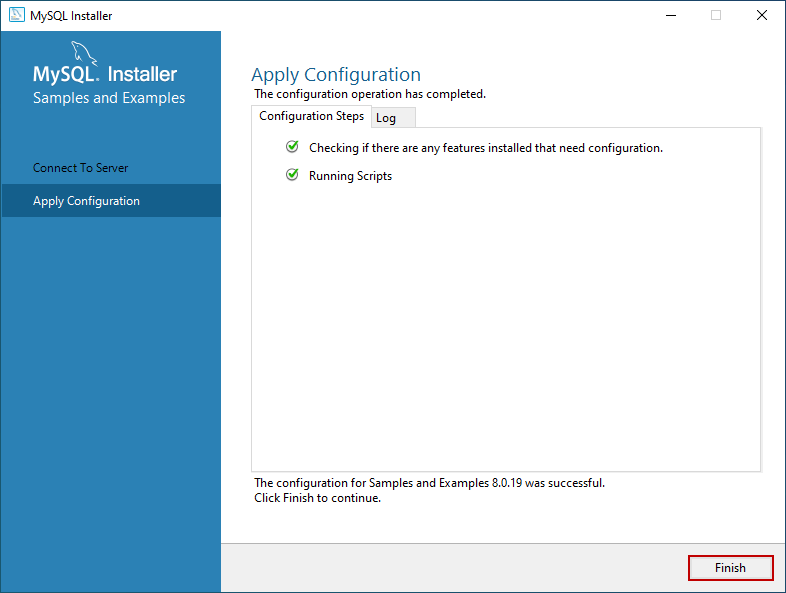
After installing the sample database, click the “Finish” button.
-
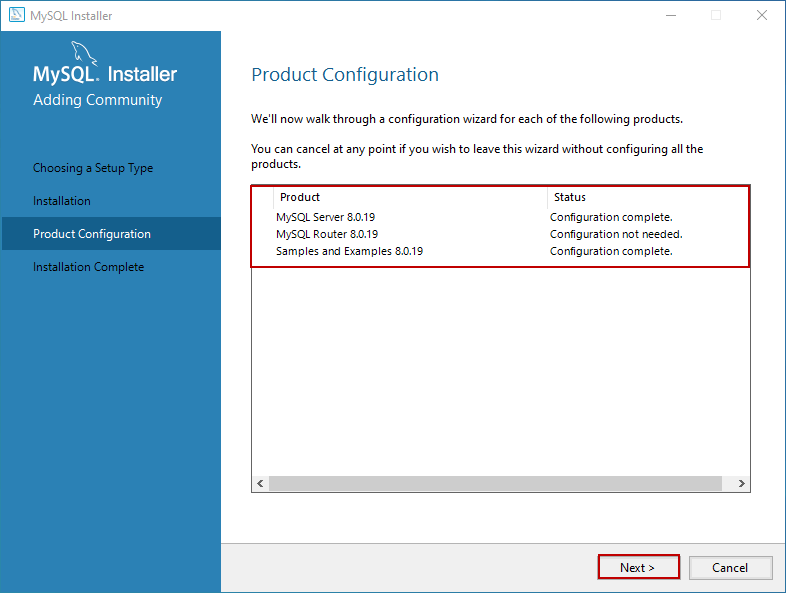
The installation program continues to the product configuration interface. On this interface, you can see that the installation of MySQL Server 8.0.19 and Sample and Example 8.0.19 has been successfully completed. See below:
-
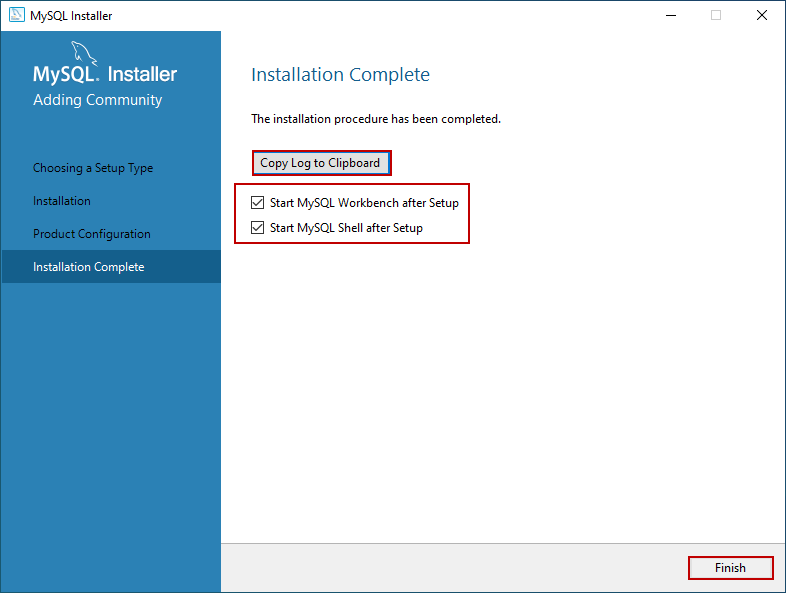
After the installation is complete, you can copy the installation log to the clipboard for future review. In addition, if you want to start exploring MySQL immediately, then you can select “Start MySQL Workbench after Setup” and “Start MySQL Shell after Setup”, and then click Finish . See below:
Upon completion, MySQL installer introduced in the world database and the sakila database:
- The
worlddatabase is a data containing countries and cities in the world. - The
sakiladatabase is a database about DVD (movie) rental shop business.
Connect to MySQL server
After installing the MySQL server, you can connect to the MySQL server through the MySQL command line tool or other MySQL client programs (such as MySQL Workbench, Navicat, etc.). For a more detailed introduction, please jump to the Connect to MySQL Server tutorial.
Conclusion
In this article, we showed the step-by-step installation of MySQL database server 8.0.19 on Windows platform.
If you use other operating system platforms, please use the following tutorial: